Showing posts with label Cleaning. Show all posts

Tuesday, October 18, 2016

Scrubbing The Floor - Once A Month

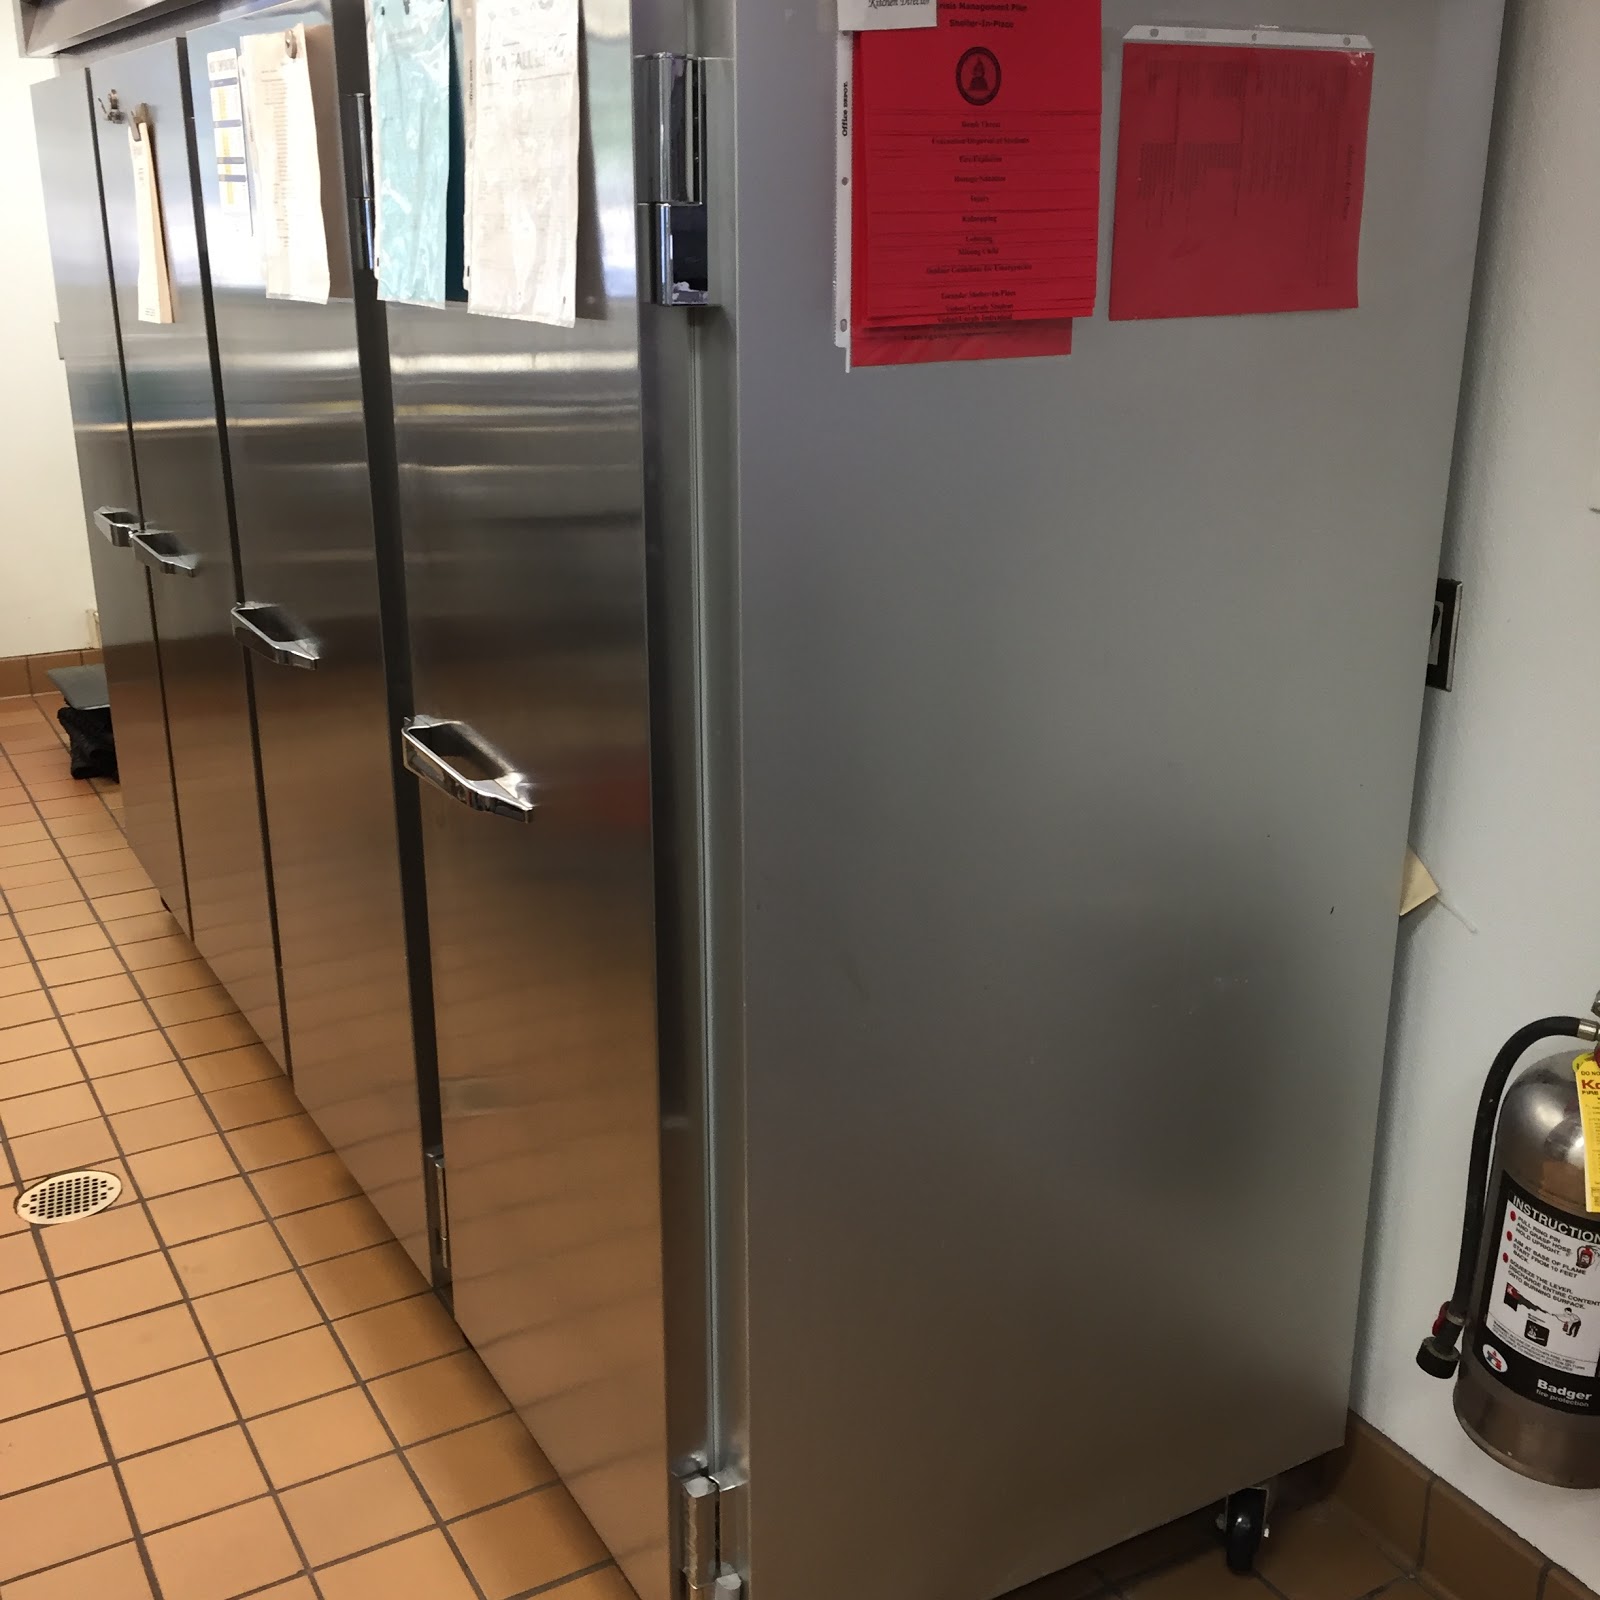
To get started make sure and rinse the mop out real good first, then ring it out. You will need to use the mop one time in the beginning (behind the refrigerator and freezer after scrubbing) without having the bucket. 

When using the mop bucket and a brush to scrub the floor I either use this...And follow directions on jug...

Or these two products...And use one cap full of bleach and 2 drops of Dawn AFTER filling the mop bucket with water.


If this mixture doesn't seem "sudsy" enough then add a little bit more lemon disinfectant (it has a cleaner in it) or a couple of ADDITIONAL drops of Dawn in the bleach water.

I make fresh mop water the same way. (minus any extra "suds")

Before scrubbing the floor let's remove all the unnecessary stuff in our way. The trash can by the sink and the culinary tool box...


The other trash can by the end of the table and the laundry bag by the freezer...


Also the speed rack and alto-sham warmer in this area...


You can roll or carry it all out right outside the door and front of service window.


The best way to start is to quickly scrub the floor behind the refrigerator and freezer, mop it...


Then push it all back into place.


Now your ready to do the rest of the floor.


I wet the floor down with the brush and scrub small areas of the floor real good.


After getting everything scrubbed down (floor should not be flooded with water) go back and mop the whole floor. Use the same mop bucket just make some fresh mop water. 

Staying in one area till all the excess water has been mopped up and floor is clean. Ring out the mop head as many times as necessary and continue to mop small areas at a time till the whole floor is done. 

When you are through the floor should look pretty clean (or even more so) and not any more wet than a usual day of sweeping and mopping. 

###

Through experience we found this the most efficient way to do it.

Efficient: achieving maximum productivity with minimum wasted effort or expense.

Once A Year - Exhaust Hood

About once a year the exhaust hood needs the intake air filters cleaned. The filters (2 of them) are on the roof and can be accessed through removing two screws on top of the intake unit.

Here are some pictures after I already removed the two filters for cleaning. I generally just spray the filters out real well with water sprayer at kitchen sink. Maybe if they are real bad you can let them soak for awhile in the 3-sink in the kitchen then spray the filters out and let them run a couple of time in the automatic dishwasher.

Takes two screws to remove the top and to get to the filters to slide them out.


Here is the exhaust fan unit for the actual "exhaust". The belt, pictured below, can be bought at Grainger in town on Jordan Lane. (click the link) The belts are not that expensive so we just get them there. There may be other places you can purchase them. Always buy at least 2 at a time so there is always a backup. You can use a socket set or some hand wrenches to loosen and tighten the bolts in order to put another belt on BUT if the belt has already broken off I usually put the new belt all the way on the motor pulley and partially on the fan pulley and give it a quick spin and the belt will pop all the way on like a tight bicycle tire without ever having to use any tools.


Both the intake and exhaust unit have seperate electrical switches close to their motors so you don't have to turn the exhaust switch off in the kitchen to work on them. Just climb the ladder to the roof and switch off the one you want to work on.

Both Pastor Will Umbarger and Jim Cochran have some experience with this maintenance job so if you have any questions they should be able to help you out!

Dishwasher Use

Our dishwasher was never made for real heavy-duty dish washing. Mildly soiled dishes at best. It uses both detergent and sanitizer BUT because it doesn't have its own internal water heater it makes it harder to wash the dishes completely clean and/or remove a greasy film WITHOUT doing some pre-preemptive cleaning to the dishes before going in the dishwasher.

The hot water we use comes from a water heater and its output usually tops out at just above 120 degrees F. AND this just happens to be the temperature the Health Department looks for the on the gauge on the dishwasher when its running a cleaning cycle.

High-temp machines require an additional booster water heater to provide sanitizing hot water above 180° F (82.2° C) during the rinse cycle BUT this also cleans the dishes better during a regular wash cycle.


We use a detergent and a sanitizing solution. If you click on the picture of the two buckets I think it will enlarge enough for you to see the writing on them. Both of these can be ordered through Halsey or pretty much ANY food service company. (Sysco, US Foods, PFG...)


The dishwasher is also capable of running a "rinse aid" on one of the cycles. This is not necessary by the Health Department AND we have found that even when we use a "low-temp" rinse aid for our low-temp dishwasher it isn't very effective. It doesn't work well enough to justify the cost.

Thursday, October 13, 2016

Cleaning Dishes

Here is our simple technique: Wash dishes with HOT water, soak dishes in COLD water.

Why do we do it this way? (Read DISHWASHER USE first!)
  • Sometimes the hot water seems to be limited from the water heater tank and our dishwasher does not have an internal water heater so in essence we need all the hot water for it to run and clean its best.
  • Most pots and pans do not require hot water to soak and remove stuck on food
  • If a pot/pan/dish is extremely greasing but not really dirty we then use the Soap Water (again that Dawn dish detergent cuts grease the best) and hot water to remove the grease or greasiness. But if it needs to soak we can still use the cold water before scrubbing with the hot.
The key to this system is because most starch and protein based foods absorb the water and loosen up over time with faucet temperature water. Hot water tends to re-activate, tighten up, or otherwise continue to cook food in the dish making it even harder to release from the dish.

Even sugar based sauces or food that is soaked with cold water will eventually, given time, absorb the water and loosen its grip. We hardly ever have one dish that JUST has to be washed right away to be used again.

Give it time, let it soak. Don't work hard scrubbing dishes when its not necessary.

Another technique we use is spraying a dish down right away even if we are not going to clean it. This helps keep leftover food and liquid from getting a chance to dry on and make it harder to clean. When you carry a dish over that looks like its going to be hard to clean, spray it quickly, and then leave in sink. DO this when the dish doesn't necessarily need to soak.

The following are a few examples:

Macaroni & Cheese (shells) - fill with cold water.


BBQ Chicken baked with sauce in it. Fill with cold water.


Another view...See the crusty black stuck on residue on sides of pan?


Here both pans have soaked about 15 to 20 minutes.


Cheese and starch sprays off with ease with hand sprayer before using dishwasher.


Crusty black stuck on residue burnt to the sides...


Now wipe of with one swipe of the soapy green pad.


Both wash off quickly and are run through the dishwasher. No need to stand there a long time trying to scrub hard with a more abrasive cleaner.

Sometimes cooking starchy things like potatoes, pasta, and rice can be a hassle to get out of the pans BUT if you don't need to get it out of the pan right away then just cover it and put it into refrigerator and clean it out the next day. The starches then get cold and clump together (to their-self) instead of to the pan and make it easy to clean them out of a pan. Example below. 

I just pulled this pan out of the refrigerator after sitting overnight. The day before the rice was HOT and sticking very hard to the pan.


The rice is now stiff and mostly just stuck to itself.


I use my gloved hand to quickly scrape the rice out and clean the pan. This is what it left to clean. Not much.


And you can still spray or soak this pan with some cold water and let it sit a few minutes and clean it out quickly for the dishwasher.

Dried baked on mashed potato...


Cold water...


Maybe 10 minutes? Everything has loosened up!


This CLEAN after just a quick spray...


Finish up with soft green pad and Soap Water and run it through the dishwasher.

This concludes our illustrations. The technique works!

Once A Week - Drain Refrigerator Condensation

I would suggest Mondays. Every Monday the black refrigerator with 3 glass doors in the Pantry should be drained. In the picture below you see that I already have the louvered vent off of the front. It is held on by two plastic hooks that go over screws and two actual screws you have to take out. Very easy. 


Here is what the screws look like that are taken out of the bottom left and bottom right side of the black louvered vent. The screws are found in the side right over the last vent in the cover.


Underneath we have a catch pan which is basically a plastic Cambro chafing dish. You can see in the picture below how the drain tube/hose comes down from the refrigerator unit. Most models have heat coils that evaporate the water so its usually not an issue in other refrigerators. This one does not have one. It was bought used, runs great, and otherwise has no problems. During the warmer and hot months this unit HAS TO BE DRAINED EVERY WEEK, NO EXCEPTION. 

Here is a link to a printable form you can use to track and also to be a reminder.


Use a 5 gallon bucket to pour water into and then drain water in the mop sink in the kitchen.


Make sure you slide the plastic chafing dish back in and position the tube/hose inside so it will drain properly. This holds about 5 gallons of water before it start to overflow.


Friday, October 7, 2016

Soap Water

Soap Water is kept next to the sink and is used for actually cleaning the dishes (as well as everything else) because the dishwasher is more of a "good idea". Most dishes still need a basic cleaning before the dishwasher will actually finish cleaning it. Part of this reason is because our dishwasher is a "low temp" dishwasher and doesn't heat its own water. So hot water is coming from the water heater. Most of the time this never tops 120 degrees where other dishwashers have internal water heaters and will scald/clean dirty dishes with 190 degree water!

What you will need is the Dawn dish detergent in a pump (buy commercially at Sam's Club). Please don't buy the other cheap liquid detergents, that's exactly what they are! Cheap in price and cheap on quality. Also we need another disinfecting bucket (just like when we make Bleach Water) and we will fill it about 1/3 of the way with water. Again, we do not need hot water in this bucket. The active ingredient we are using here is the soap and hard work. You will use this Soap Water all day or until it gets nasty and you need to change it.

You will add one full pump of the liquid detergent to the water. DO NOT add the liquid detergent first then try to fill the bucket with water because it will just make a lot of soap suds we do not need and it will be hard to tell how much water is actually in the bucket.


Alright on to the scrubbing equipment. We usually only keep green scrubby pads and steel wool on hand for cleaning. We hardly EVER use the steel wool and when we do its NOT ON plastic dishes like cambro containers and such.

Here we have the setup most of us like. There is nothing different about the green scrubbing pads in the picture except one has been used more than the other. This creates two different style pads to clean with. The more used one (on the far left) is less abrasive and great for generally cleaning everything. The one on the right is newer and more abrasive. Great for stuff stuck on pots and pans. The steel wool / scour pad is mostly for looks and emergency situations like hard to get off items that have already spent time soaking. Not for everyday use.

There is a technique for cleaning and scrubbing dishes and we talk about that HERE. (click the link)


Both the Soap Water and Bleach Water should be part of your start up routine for each day. There is no Health Department point violations for having or not having a Soap Water bucket. That is a creation of experience in the kitchen.

My simple process for cleaning almost EVERYTHING is scrub with Soap Water scrubby and wipe down with Bleach Water towel. (except for dishes, they get run through the dishwasher so they get sanitized that way)

(You can keep the Bleach Water bucket on another counter or sink it does not have to stay close to dishwasher, move the buckets around as you need.)

Bleach Water

Bleach water bucket for sanitizing and disinfecting. Using towels to wipe down and sanitize counters, shelves, tables, equipment, and a variety of things.

Fill the bucket about 2/3 to 3/4 of the way with water. It doesn't need to be hot water because we are going to use this all day or until it gets really nasty. The bleach is the key ingredient not the temperature of the water. 

We will need some bleach, couple of clean towels, and a teaspoon measuring spoon. 


You want to mix in about 2/3 of a teaspoon of bleach. Here in the next couple of pictures you see I actually mixed it to strong. If you look closely at the Precision Chlorine Test Paper (and yes you need to keep a tube of these on hand for the Health Department, they will want to check the dishwasher with it as well). On the side of the container you see 4 shades of gray. We actually want the third darkest one to match the  test paper so we know its at least 100 part per million solution of chlorine, aka bleach.


Add a clean towel or two.


You can get counted off for not having the test papers, not having the bucket of sanitizing water and towel, and for it not testing properly.

If the water gets to nasty, change it out. At the end of the day hang the towels over dividers in sink or on the edges of the dirty laundry hamper/bag till they dry out over night. Then proceed to drop them in the bag dry. 

At this point we get our mats swapped and linens laundered & picked up every two weeks. Keeping wet items out of the bag/hamper helps keep things from stinking and growing molds.

Thursday, October 6, 2016

Twice A Year - Grease Catch/Pit

The grease pit should be cleaned twice a year. More if there is an emergency like water backing up into the kitchen and/or horrible smells coming up from the floor drains in kitchen. Observe the photos:


The panel for the grease pit is directly in front of the big windows in the kitchen.


This is what it looks like after a full 6 months of collecting the grease and waste of the kitchen drains. Preferably you would not let any grease or food waste go down the drains, but as it is with cleaning dishes, more of it gets down the sink than you can imagine. 

[I use the word "dishes" lightly, it mostly reflects pots, pans, trays, utensils...not actual plates.]


It stinks like...well, like real sewage!

To clean it dress yourself with a double apron (front and back) and cover yourself like with the biggest trash bag and then cut holes for your arms and head. Use the good latex gloves and bring a few more sets with you. Also you want to have one of those face masks like at the hospital or when painting. You can buy them cheap at Home Depot and keep a few around. The smell could make you vomit.

I use a slotted spoon or spatula to scrap all the solid chunks of grease and waste off the top and fill up a "tea pitcher" with the waste. I use the hand-truck to carry the second largest pot on it. I line the pot with the largest and thickest garbage bag. This is what I fill up as I scoop waste out...you can scoop it straight to the pot, or fill up the pitcher first and then dump in the pot.


The pitcher you can keep closer to the actual work. And later you may want to use the pitcher for skimming off the top then pouring into the pot. 

When the bag is full close to the top of the pot STOP because you want to tie a knot in the bag and roll the pot up the hill to the trash. When you do this, the pot rolls uphill at a slant so you don't want that stuff bouncing back or pouring out on you or the ground.

Then use the pot handles to pick it up and dump into the trash dumpster. Then repeat this process as many times as necessary. Usually 2 to four times. When I get done I throw everything away: Gloves, pitcher, garbage bags I have used, even the slotted spoon and/or spatula...Everything can be replaced relatively cheap from Sam's Club or Webstaurant.com. Throw the aprons in the bag of dirty laundry.

Doing it yourself is a difference of $20 or $30 dollars in supplies versus $600 a year. Now if cleaning it is not an option then call the local Roto-Rooter Plumbing Service and get a quote. My first quote I got in 2012 was almost $300.00 (Three Hundred Dollars) so I would imagine it would be more than that now. And you need to get it done twice a year.

This is how it should look when your done. Or pretty close to this.


Probably the two best times to do this is end of the school year when VFCA is done and before summer camp has started AND during Fall or Christmas Break when the VFCA is not in session. During the day it's best to do it between 1pm and 230pm so you leave enough time on either side for lunch to be over and before parents start coming regularly to pick up their children from LVA. Because LVA is all year around. Bring a change of work shirt or chef jacket in case of splatter and/or smell permeates clothes.