Tuesday, October 18, 2016

Once A Year - Exhaust Hood

About once a year the exhaust hood needs the intake air filters cleaned. The filters (2 of them) are on the roof and can be accessed through removing two screws on top of the intake unit.

Here are some pictures after I already removed the two filters for cleaning. I generally just spray the filters out real well with water sprayer at kitchen sink. Maybe if they are real bad you can let them soak for awhile in the 3-sink in the kitchen then spray the filters out and let them run a couple of time in the automatic dishwasher.

Takes two screws to remove the top and to get to the filters to slide them out.


Here is the exhaust fan unit for the actual "exhaust". The belt, pictured below, can be bought at Grainger in town on Jordan Lane. (click the link) The belts are not that expensive so we just get them there. There may be other places you can purchase them. Always buy at least 2 at a time so there is always a backup. You can use a socket set or some hand wrenches to loosen and tighten the bolts in order to put another belt on BUT if the belt has already broken off I usually put the new belt all the way on the motor pulley and partially on the fan pulley and give it a quick spin and the belt will pop all the way on like a tight bicycle tire without ever having to use any tools.


Both the intake and exhaust unit have seperate electrical switches close to their motors so you don't have to turn the exhaust switch off in the kitchen to work on them. Just climb the ladder to the roof and switch off the one you want to work on.

Both Pastor Will Umbarger and Jim Cochran have some experience with this maintenance job so if you have any questions they should be able to help you out!

Dishwasher Use

Our dishwasher was never made for real heavy-duty dish washing. Mildly soiled dishes at best. It uses both detergent and sanitizer BUT because it doesn't have its own internal water heater it makes it harder to wash the dishes completely clean and/or remove a greasy film WITHOUT doing some pre-preemptive cleaning to the dishes before going in the dishwasher.

The hot water we use comes from a water heater and its output usually tops out at just above 120 degrees F. AND this just happens to be the temperature the Health Department looks for the on the gauge on the dishwasher when its running a cleaning cycle.

High-temp machines require an additional booster water heater to provide sanitizing hot water above 180° F (82.2° C) during the rinse cycle BUT this also cleans the dishes better during a regular wash cycle.


We use a detergent and a sanitizing solution. If you click on the picture of the two buckets I think it will enlarge enough for you to see the writing on them. Both of these can be ordered through Halsey or pretty much ANY food service company. (Sysco, US Foods, PFG...)


The dishwasher is also capable of running a "rinse aid" on one of the cycles. This is not necessary by the Health Department AND we have found that even when we use a "low-temp" rinse aid for our low-temp dishwasher it isn't very effective. It doesn't work well enough to justify the cost.

Thursday, October 13, 2016

Cleaning Dishes

Here is our simple technique: Wash dishes with HOT water, soak dishes in COLD water.

Why do we do it this way? (Read 
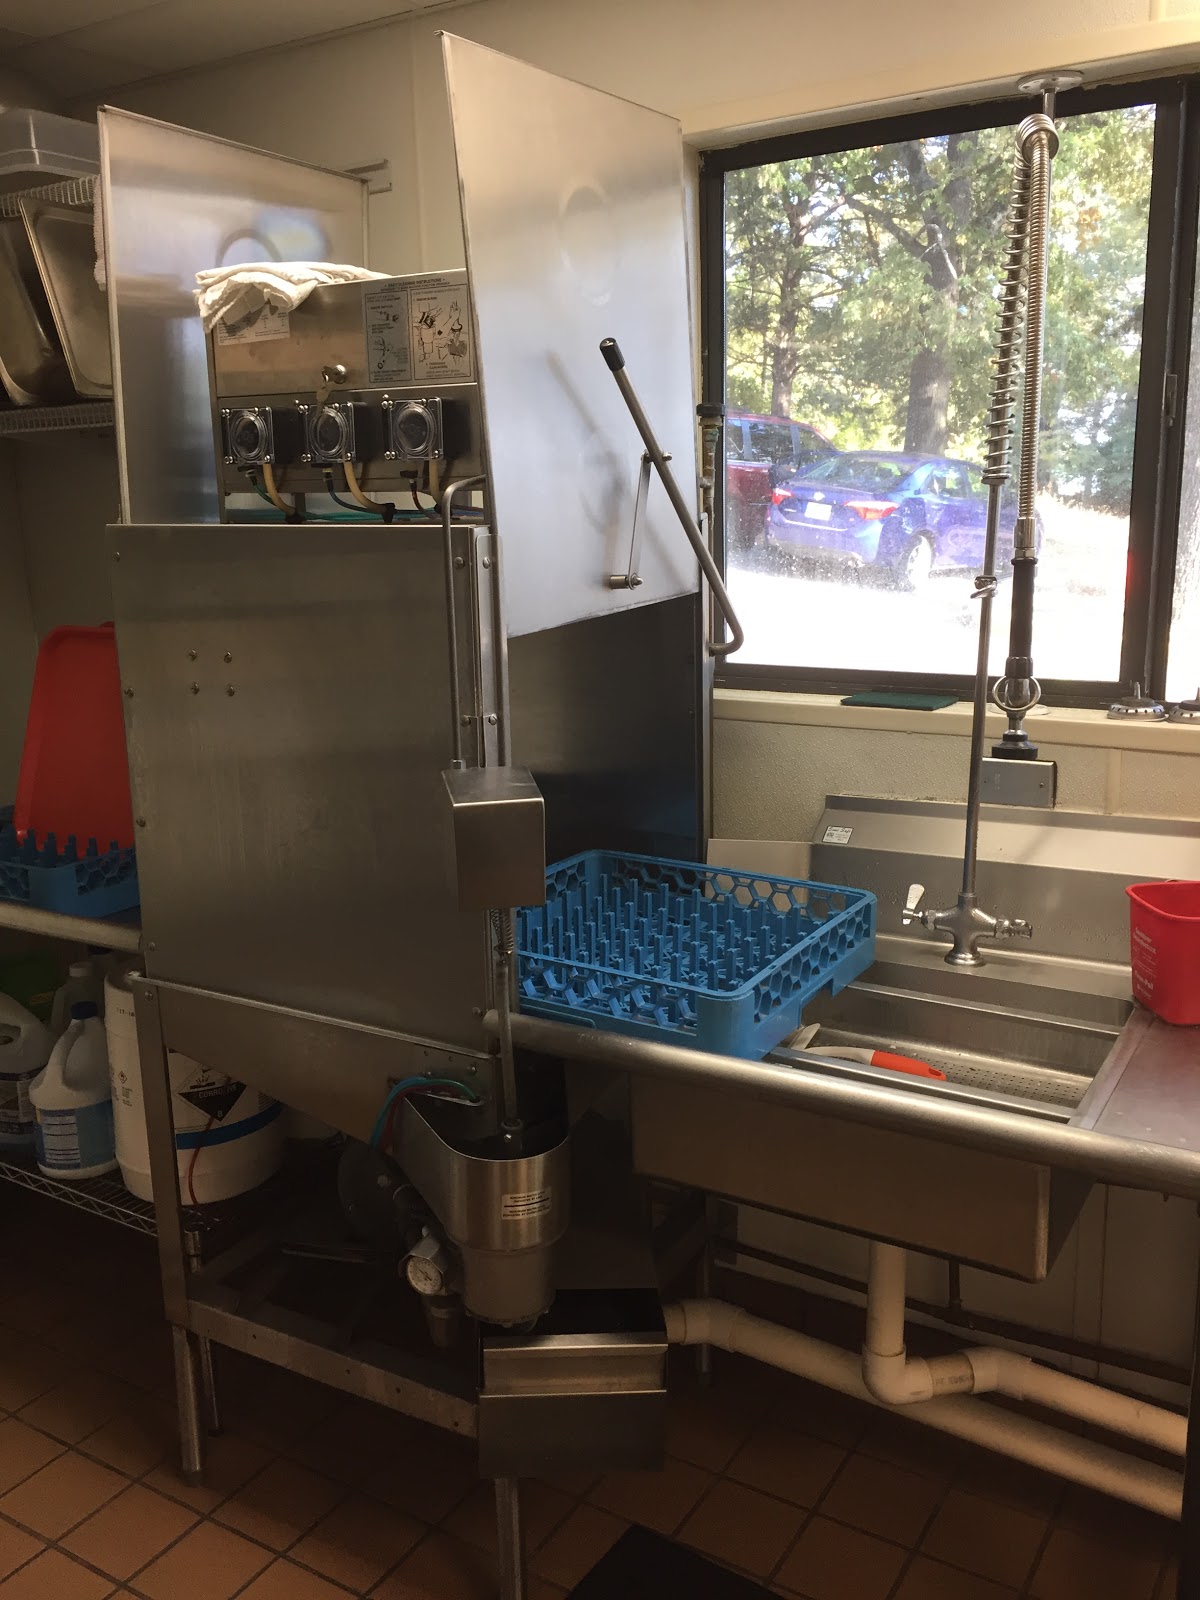
DISHWASHER USE first!)
  • Sometimes the hot water seems to be limited from the water heater tank and our dishwasher does not have an internal water heater so in essence we need all the hot water for it to run and clean its best.
  • Most pots and pans do not require hot water to soak and remove stuck on food
  • If a pot/pan/dish is extremely greasing but not really dirty we then use the Soap Water (again that Dawn dish detergent cuts grease the best) and hot water to remove the grease or greasiness. But if it needs to soak we can still use the cold water before scrubbing with the hot.
The key to this system is because most starch and protein based foods absorb the water and loosen up over time with faucet temperature water. Hot water tends to re-activate, tighten up, or otherwise continue to cook food in the dish making it even harder to release from the dish.

Even sugar based sauces or food that is soaked with cold water will eventually, given time, absorb the water and loosen its grip. We hardly ever have one dish that JUST has to be washed right away to be used again.

Give it time, let it soak. Don't work hard scrubbing dishes when its not necessary.

Another technique we use is spraying a dish down right away even if we are not going to clean it. This helps keep leftover food and liquid from getting a chance to dry on and make it harder to clean. When you carry a dish over that looks like its going to be hard to clean, spray it quickly, and then leave in sink. DO this when the dish doesn't necessarily need to soak.

The following are a few examples:

Macaroni & Cheese (shells) - fill with cold water.


BBQ Chicken baked with sauce in it. Fill with cold water.


Another view...See the crusty black stuck on residue on sides of pan?


Here both pans have soaked about 15 to 20 minutes.


Cheese and starch sprays off with ease with hand sprayer before using dishwasher.


Crusty black stuck on residue burnt to the sides...


Now wipe of with one swipe of the soapy green pad.


Both wash off quickly and are run through the dishwasher. No need to stand there a long time trying to scrub hard with a more abrasive cleaner.

Sometimes cooking starchy things like potatoes, pasta, and rice can be a hassle to get out of the pans BUT if you don't need to get it out of the pan right away then just cover it and put it into refrigerator and clean it out the next day. The starches then get cold and clump together (to their-self) instead of to the pan and make it easy to clean them out of a pan. Example below. 

I just pulled this pan out of the refrigerator after sitting overnight. The day before the rice was HOT and sticking very hard to the pan.


The rice is now stiff and mostly just stuck to itself.


I use my gloved hand to quickly scrape the rice out and clean the pan. This is what it left to clean. Not much.


And you can still spray or soak this pan with some cold water and let it sit a few minutes and clean it out quickly for the dishwasher.

Dried baked on mashed potato...


Cold water...


Maybe 10 minutes? Everything has loosened up!


This CLEAN after just a quick spray...


Finish up with soft green pad and Soap Water and run it through the dishwasher.

This concludes our illustrations. The technique works!

Once A Week - Drain Refrigerator Condensation

I would suggest Mondays. Every Monday the black refrigerator with 3 glass doors in the Pantry should be drained. In the picture below you see that I already have the louvered vent off of the front. It is held on by two plastic hooks that go over screws and two actual screws you have to take out. Very easy. 


Here is what the screws look like that are taken out of the bottom left and bottom right side of the black louvered vent. The screws are found in the side right over the last vent in the cover.


Underneath we have a catch pan which is basically a plastic Cambro chafing dish. You can see in the picture below how the drain tube/hose comes down from the refrigerator unit. Most models have heat coils that evaporate the water so its usually not an issue in other refrigerators. This one does not have one. It was bought used, runs great, and otherwise has no problems. During the warmer and hot months this unit HAS TO BE DRAINED EVERY WEEK, NO EXCEPTION. 

Here is a link to a printable form you can use to track and also to be a reminder.


Use a 5 gallon bucket to pour water into and then drain water in the mop sink in the kitchen.


Make sure you slide the plastic chafing dish back in and position the tube/hose inside so it will drain properly. This holds about 5 gallons of water before it start to overflow.


Friday, October 7, 2016

Soap Water

Soap Water is kept next to the sink and is used for actually cleaning the dishes (as well as everything else) because the dishwasher is more of a "good idea". Most dishes still need a basic cleaning before the dishwasher will actually finish cleaning it. Part of this reason is because our dishwasher is a "low temp" dishwasher and doesn't heat its own water. So hot water is coming from the water heater. Most of the time this never tops 120 degrees where other dishwashers have internal water heaters and will scald/clean dirty dishes with 190 degree water!

What you will need is the Dawn dish detergent in a pump (buy commercially at Sam's Club). Please don't buy the other cheap liquid detergents, that's exactly what they are! Cheap in price and cheap on quality. Also we need another disinfecting bucket (just like when we make Bleach Water) and we will fill it about 1/3 of the way with water. Again, we do not need hot water in this bucket. The active ingredient we are using here is the soap and hard work. You will use this Soap Water all day or until it gets nasty and you need to change it.

You will add one full pump of the liquid detergent to the water. DO NOT add the liquid detergent first then try to fill the bucket with water because it will just make a lot of soap suds we do not need and it will be hard to tell how much water is actually in the bucket.


Alright on to the scrubbing equipment. We usually only keep green scrubby pads and steel wool on hand for cleaning. We hardly EVER use the steel wool and when we do its NOT ON plastic dishes like cambro containers and such.

Here we have the setup most of us like. There is nothing different about the green scrubbing pads in the picture except one has been used more than the other. This creates two different style pads to clean with. The more used one (on the far left) is less abrasive and great for generally cleaning everything. The one on the right is newer and more abrasive. Great for stuff stuck on pots and pans. The steel wool / scour pad is mostly for looks and emergency situations like hard to get off items that have already spent time soaking. Not for everyday use.

There is a technique for cleaning and scrubbing dishes and we talk about that HERE. (click the link)


Both the Soap Water and Bleach Water should be part of your start up routine for each day. There is no Health Department point violations for having or not having a Soap Water bucket. That is a creation of experience in the kitchen.

My simple process for cleaning almost EVERYTHING is scrub with Soap Water scrubby and wipe down with Bleach Water towel. (except for dishes, they get run through the dishwasher so they get sanitized that way)

(You can keep the Bleach Water bucket on another counter or sink it does not have to stay close to dishwasher, move the buckets around as you need.)

Bleach Water

Bleach water bucket for sanitizing and disinfecting. Using towels to wipe down and sanitize counters, shelves, tables, equipment, and a variety of things.

Fill the bucket about 2/3 to 3/4 of the way with water. It doesn't need to be hot water because we are going to use this all day or until it gets really nasty. The bleach is the key ingredient not the temperature of the water. 

We will need some bleach, couple of clean towels, and a teaspoon measuring spoon. 


You want to mix in about 2/3 of a teaspoon of bleach. Here in the next couple of pictures you see I actually mixed it to strong. If you look closely at the Precision Chlorine Test Paper (and yes you need to keep a tube of these on hand for the Health Department, they will want to check the dishwasher with it as well). On the side of the container you see 4 shades of gray. We actually want the third darkest one to match the  test paper so we know its at least 100 part per million solution of chlorine, aka bleach.


Add a clean towel or two.


You can get counted off for not having the test papers, not having the bucket of sanitizing water and towel, and for it not testing properly.

If the water gets to nasty, change it out. At the end of the day hang the towels over dividers in sink or on the edges of the dirty laundry hamper/bag till they dry out over night. Then proceed to drop them in the bag dry. 

At this point we get our mats swapped and linens laundered & picked up every two weeks. Keeping wet items out of the bag/hamper helps keep things from stinking and growing molds.

Thursday, October 6, 2016

Oven Cooking - Pulled Pork

Technique is simple, 225 degrees Fahrenheit overnight in the oven. In the video we are using a standard Boston Butt...Start it before I go home from VFCA and then pull it from oven first thing in the morning, put on metal table, take foil off of it, and drain fat & liquid. Come back after morning prayer and hopefully it is cooled down enough for you to start "pulling".

*UPDATE TO TECHNIQUE
I use the 4 inch chafing dishes now and put two butts in each pan. I don't season them or cut them down to fit into 2 1/2 inch chafing dishes that I talk about in video. Most seasoning melts right off of the pork anyway and it is wasted sitting in the juice and fat at the bottom of the pan. No need to cut butts down to fit into 2 1/2 inch chafing dishes because these things have just cooked 14 plus hours in a 4 inch chafing dish!

AFTER draining juice, liquid fat, and removing solid jelly type fat we then "pull" it. Now is when I add seasoning and/or some BBQ and Hot Sauce back into it because now seasoning the taste of the pork is most effective without waste.

THIS makes the whole process even faster than it was before when getting it into the oven.


Oven Cooking - Ground Beef

I have worked in some pretty small kitchens from time to time BUT have never failed to figure out how to complete a scheduled meal. A long time ago I developed an easy, simple way to cook bulk ground meat in a commercial oven using little supervision and a potato masher.

Why would this be a useful thing to know? Not all kitchens have large braising pans, electric skillets, or enough pots to cook it on the stove.

I use 4 inch chafing dishes/hotel pans and cook 10 to 15 pounds of meat in each one. Doesn't matter if its ground beef, ground chicken, ground pork, sausage...

Start with about half an inch of water in each pan...here I have 2x10# (2 packs of 10 pounds each) of Ground Beef (80/20 meat fat ratio). See my water pitcher in the background?


Take the meat and spread it out in pan. You can do this quickly it does not have to be "just so".


 I have a commercial convection oven that I set to 375 Fahrenheit (fan on low). You can use 350 or 400 degrees Fahrenheit its not an "exact" type of thing, but the first time you cook it like this keep track of your own times to repeat the process the same way every time. It's easier to teach someone else this way.

This is what it looks like in my oven. I do not cover the meat. The heated air works quicker and allows for some additional coloring and texture of finished meat(besides it looking a light gray from essentially oven steaming it). Yes! I keep a sheet pan in the bottom of my oven at all times for catching drips or mistakes...as you can see some on the pan, black spots.

And another "zoom out" view...


Let the meat cook undisturbed for thirty minutes, no matter what...you can adjust finishing time later. Depending on your oven, the temperature you use, kind of meat, et cetera...the time it takes to cook ground meat to proper internal temperature varies. I believe its 155 Fahrenheit for most ground meats except poultry, which I believe still has to reach 165. See how it looks kind of "meat loaf-ish"? Its time to pour as much juice/fat/water off as you can. Plus if you remove the liquid, its less dangerous using the masher to "ground" the meat! Ok, your thirty minutes has gone by...


Notice now we have most of the liquid and impurities drained off. Please don't feel like you have to drain the pan of liquid till every last drop of liquid is out, that defeats the purpose of this being easy and simple. See how the meat looks like a big loaf?


Time to turn that potato masher into a multi-tasker...Alton Brown would be so proud right now! I usually mash it down with the masher squiggles going one way, then mash the meat again with it going the other way...use the masher as a "rake" to move big chunks around for another mash if needed. This is when I would season the meat. After the first drain and mash. Back in the oven!

Its time to put the meat back in till its done all the way AKA (also known as) being at the proper internal temperature. This could be 15 minutes or more...depends on the meat and how many pounds you started with. But if your using a timer just set another 15 and check it again. NOW we are pretty sure the meat is done...drain it again if you think it has released more liquid than you want to keep in it.


Mash again. This is the second and last time. Once while cooking and again after the meat is done. Your now ready to use your meat, and/or let it cool, label & date, and put in freezer or fridge.


If your commercial kitchen is small like my current one, we do not use a fryer so we also do not have a grease pit that holds oils and fats until a big truck comes and services it(sucks it out). So, I let the fat separate naturally and then I ladle into a +Ziploc bag inside a Cambro pitcher.


Then I throw it in a freezer till its solid, pull it out of the pitcher, and throw it away!